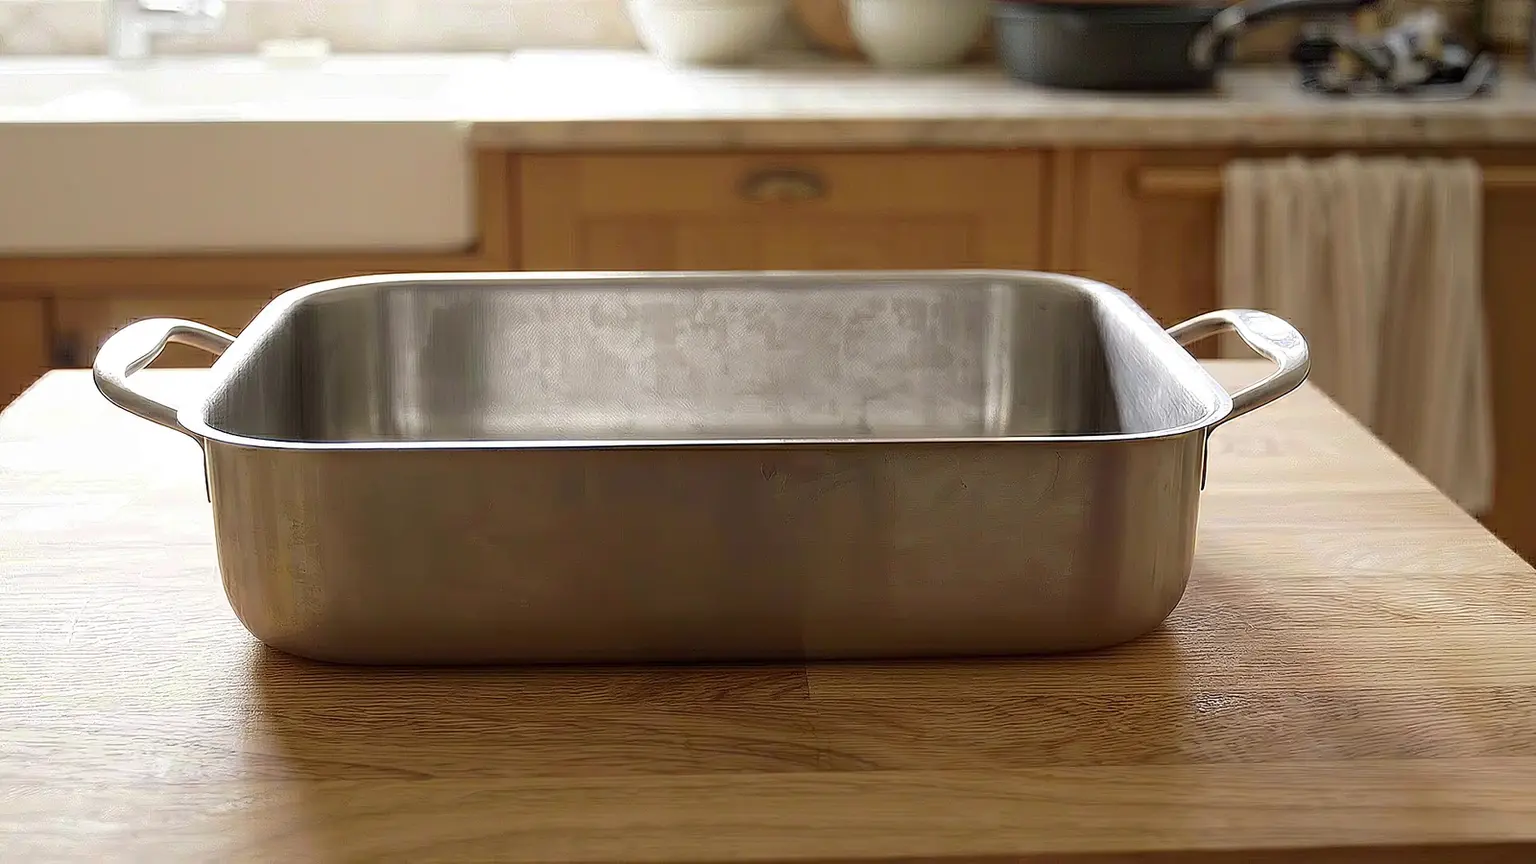
Picture unpacking into a new kitchen. The plates have a drawer. The glasses have a shelf. Then you reach for the roasting pan, hold it over the space marked “cookware,” and discover that the handles are the problem.
More cabinets would not necessarily have answered that question. The useful question was smaller: where will this particular pan live, and can you take it out without moving half the kitchen?
Start with the things that are difficult to put away now. Measure them as you intend to store them, match them to the usable interiors in the proposed kitchen, then check the movement needed to get them out. An attractive cabinet front tells you very little about those three steps.
Planning checks to discuss with your cabinet supplier or designer.
Watch the story
Loading the film connects to YouTube. Google’s privacy policy applies.
Start with the things that refuse to disappear
You do not need to count every teaspoon before meeting a designer. Begin with the objects that already cause a negotiation: the mixer that lives on the counter, the roasting pan behind the stockpot, the serving platter that lies across a shelf, or the lunchbox lids that escape into another drawer.
Choose a manageable first group and photograph it. Include handles, lids, attachments and anything you normally store together. Record how often you use each item and where you use it. A once-a-year platter and the pan you reach for every evening need different conversations, even if both are large.
Decide what you actually want to keep. That is not an instruction to discard something useful to make a drawing work. It separates objects the design needs to accommodate from things you have already decided to pass on.
If the wider layout is still unsettled, start with our kitchen planning guide. This exercise takes its inventory question further: each important object needs a proposed address and a fit check.
Measure the stored shape, not just the object name
“Roasting pan” is not a dimension. Measure its full length, including handles, its width, and its height in the position you want to store it. If the lid stays on, measure it that way. If pans nest, measure the stack you actually make, not a single pan that will never sit there alone.
Do the same for tall bottles, upright boards and appliance attachments. Photograph your measuring points so the designer can see what the numbers mean. A rough sketch beside the photograph is often more useful than a list of unexplained measurements.
Keep storage and use separate. A mixer may fit with its head down but need a different amount of room when you remove the bowl or lift the head. KitchenAid's guide distinguishes tilt-head and bowl-lift designs, which open differently. Bring the exact model information, not a generic mixer silhouette.
That does not mean an appliance should operate inside the cabinet where it is stored. Check its manufacturer's instructions and have the proposed arrangement reviewed before planning enclosed use or electrical changes.
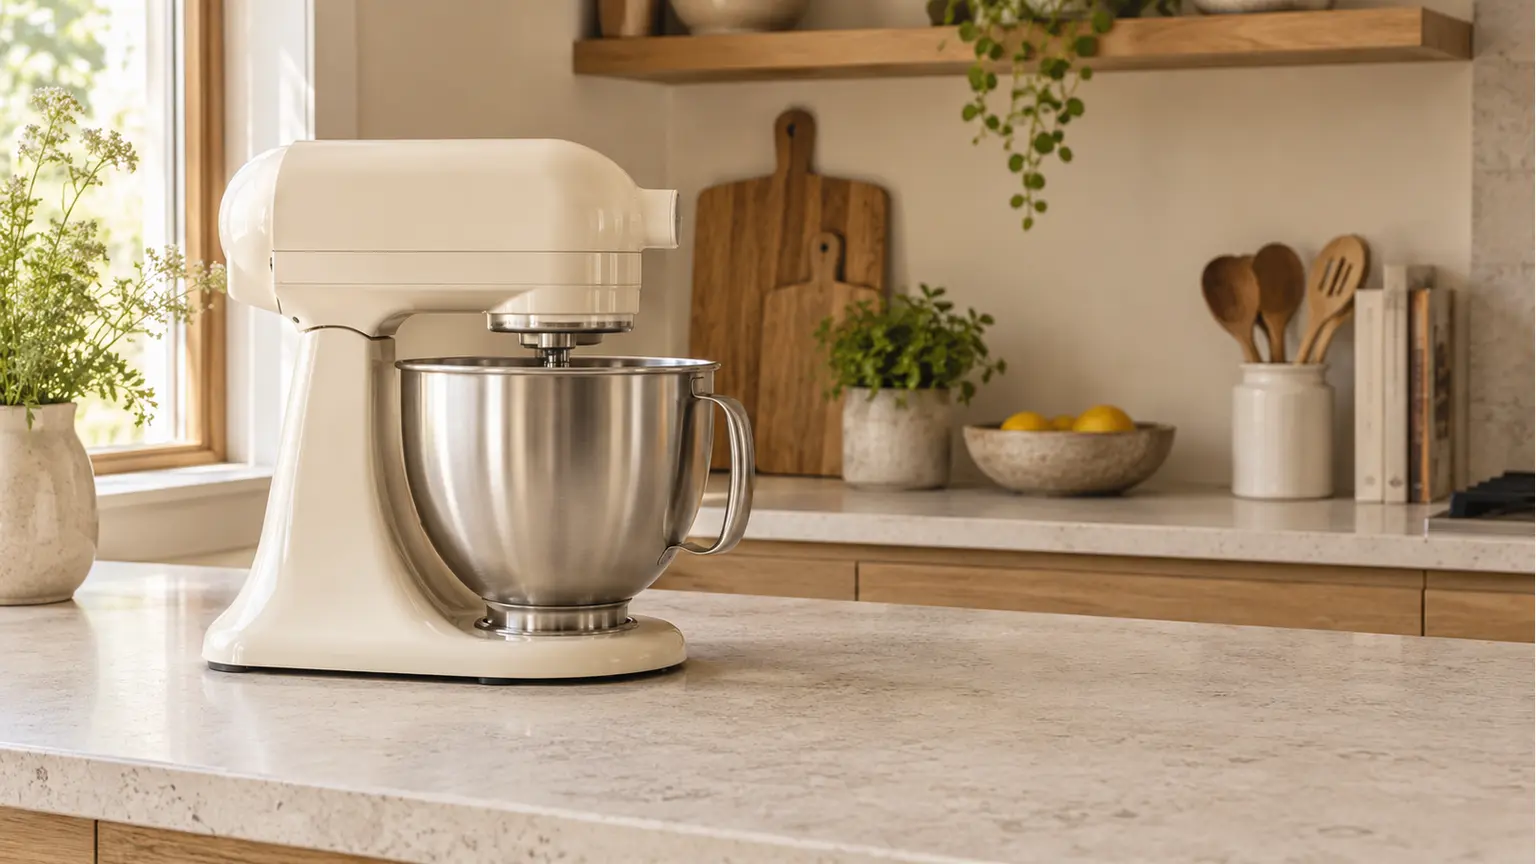
Planning reference: KitchenAid's guide.
Ask for the space behind the front
A cabinet label is not a promise about the space inside it. For a concrete example, IKEA's US drawer-organizing guide lists a 21-inch-wide interior for its 24-inch kitchen drawers. That is an example from the system described on that page, not a rule to subtract three inches from every cabinet.
Ask for the clear interior width, depth and usable height of the exact drawer or shelf being proposed. Then ask about the opening you have to pass through. The interior, the doorway into it and the space occupied by an organizer are different things to check.
Rev-A-Shelf's measuring guidance calls for cabinet opening width, depth and height, with obstructions such as hinges and plumbing taken into account. A product described as suitable for a cabinet size still needs to match your actual configuration.
Show your designer the pan, the proposed drawer and any insert together. Do not infer the fit from a beautiful elevation or a product photograph. If a critical dimension is missing, leave that item unconfirmed rather than filling the gap with a guess.
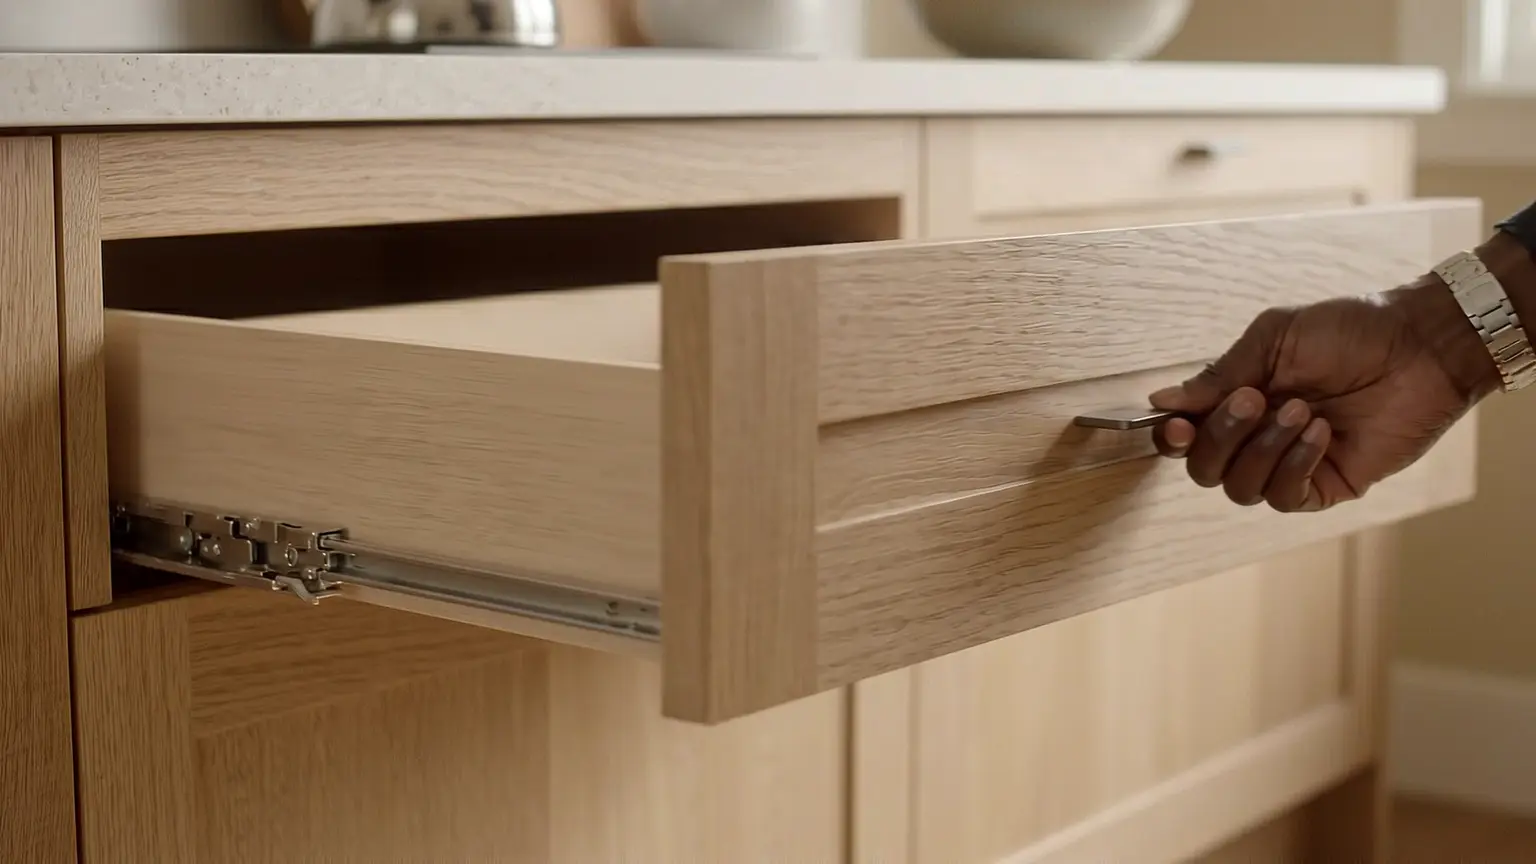
Planning reference: IKEA's US drawer-organizing guide.
Planning reference: Rev-A-Shelf's measuring guidance.
Follow one object out of storage
Now test the part a plan can make easy to overlook: getting the object into your hands.
Imagine one kitchen with three awkward items. The roasting pan lives underneath a stack of skillets. The mixer fits on a low shelf, but its owner dislikes lifting it onto the counter. The lids fit in a deep drawer only when stacked so tightly that the bottom one is hard to retrieve.
Those are three different problems. The pan needs a retrieval check. The mixer needs a decision about lifting and counter space. The lids need an arrangement that keeps the wanted lid accessible. Buying three matching organizers would not necessarily solve any of them.
Use a showroom sample of the proposed hardware where possible. For an early layout conversation, a paper footprint can show the space an object occupies, but it cannot prove drawer clearance, load capacity or how a mechanism will feel. Avoid awkward lifting just to complete a test. Explain the difficulty and ask the designer to demonstrate a suitable option.
Give every accessory a job
Before adding a pull-out, divider or lift to the order, finish this sentence: “This lets me get ___ without ___.”
For example: “This lets me get the baking sheet without lifting the serving platters.” That is a clearer test than “better storage.” Ask to see how the exact accessory works with the intended contents. Confirm the compatible cabinet, required opening, usable space after installation and applicable load limits with the supplier.
There is a tradeoff worth stating plainly. Keeping a frequently used mixer on the counter occupies counter space, but putting it away creates a lifting task. Neither is automatically the better kitchen. Choose the task and the space you are willing to give it, rather than treating an empty counter as the only successful result.
Do not forget the objects that make the kitchen work between meals: recycling containers, food storage, towels and the appliances you take out only occasionally. Check the bins you plan to use, not just a rectangle marked “waste.” Do not assume the under-sink cabinet is empty space before its services are confirmed.
Take this record to the cabinet review
Use one entry for each difficult item or group. Copy the headings below into your notes, then attach an object photograph and the relevant cabinet reference.
Bring the difficult objects to the appointment if that is practical, or send clear photographs and measurements in advance. Ask the cabinet supplier or designer to confirm the critical fit and hardware details before ordering. Keep the unresolved questions attached to the relevant cabinet references.
You are not trying to give every object a perfect container. You are checking that the kitchen you are about to buy has room for the life already in your cupboards. Start with the roasting pan. Make sure the plan has an answer for it.
 A little inspiration to take home.