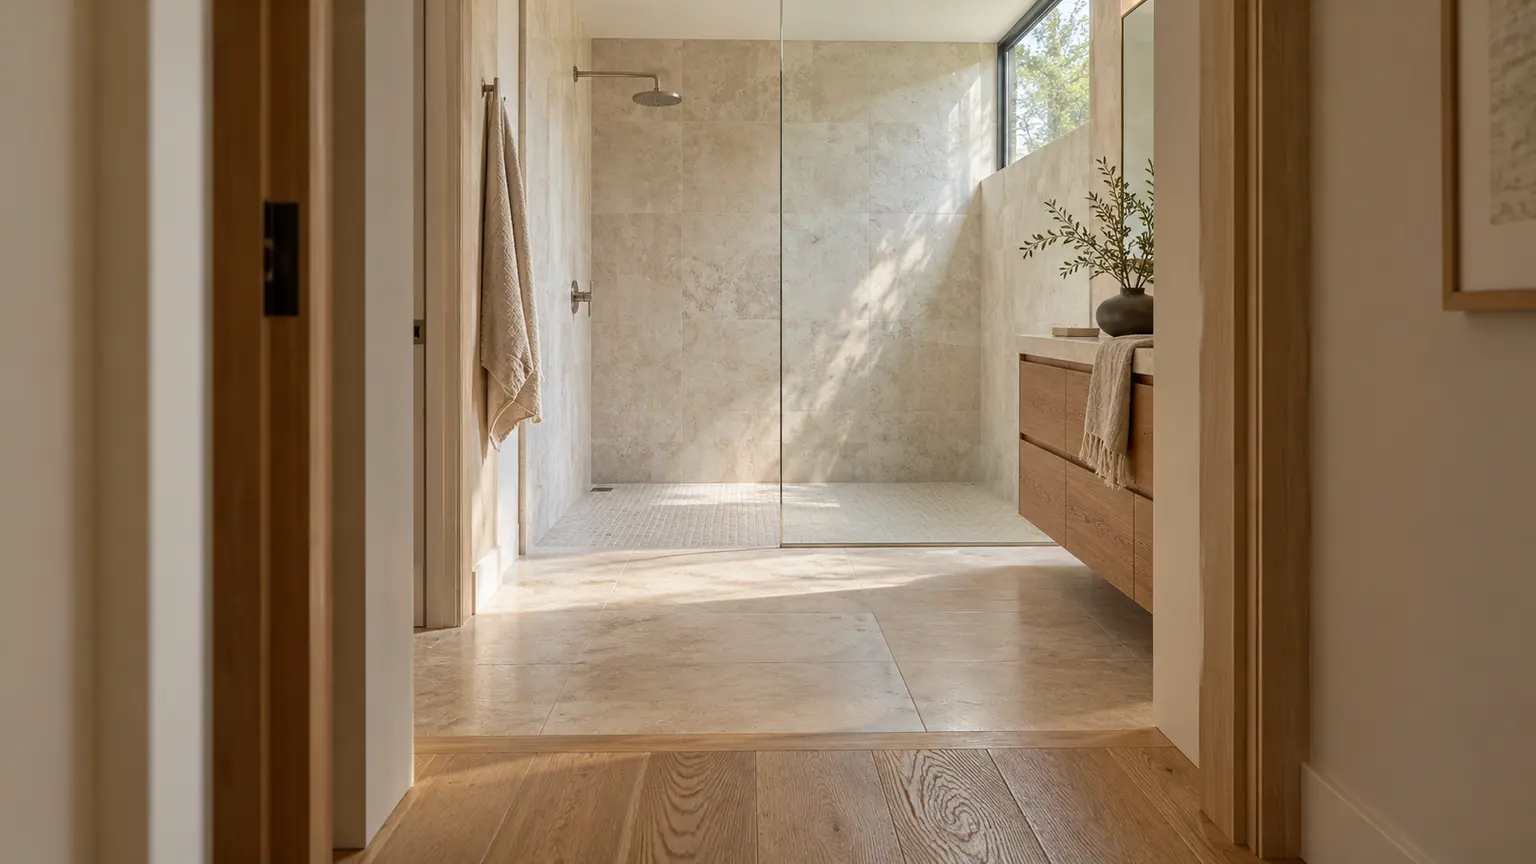
A shower without a raised curb can make a bathroom feel beautifully continuous. Before you approve that detail, ask what happens at the bathroom doorway too.
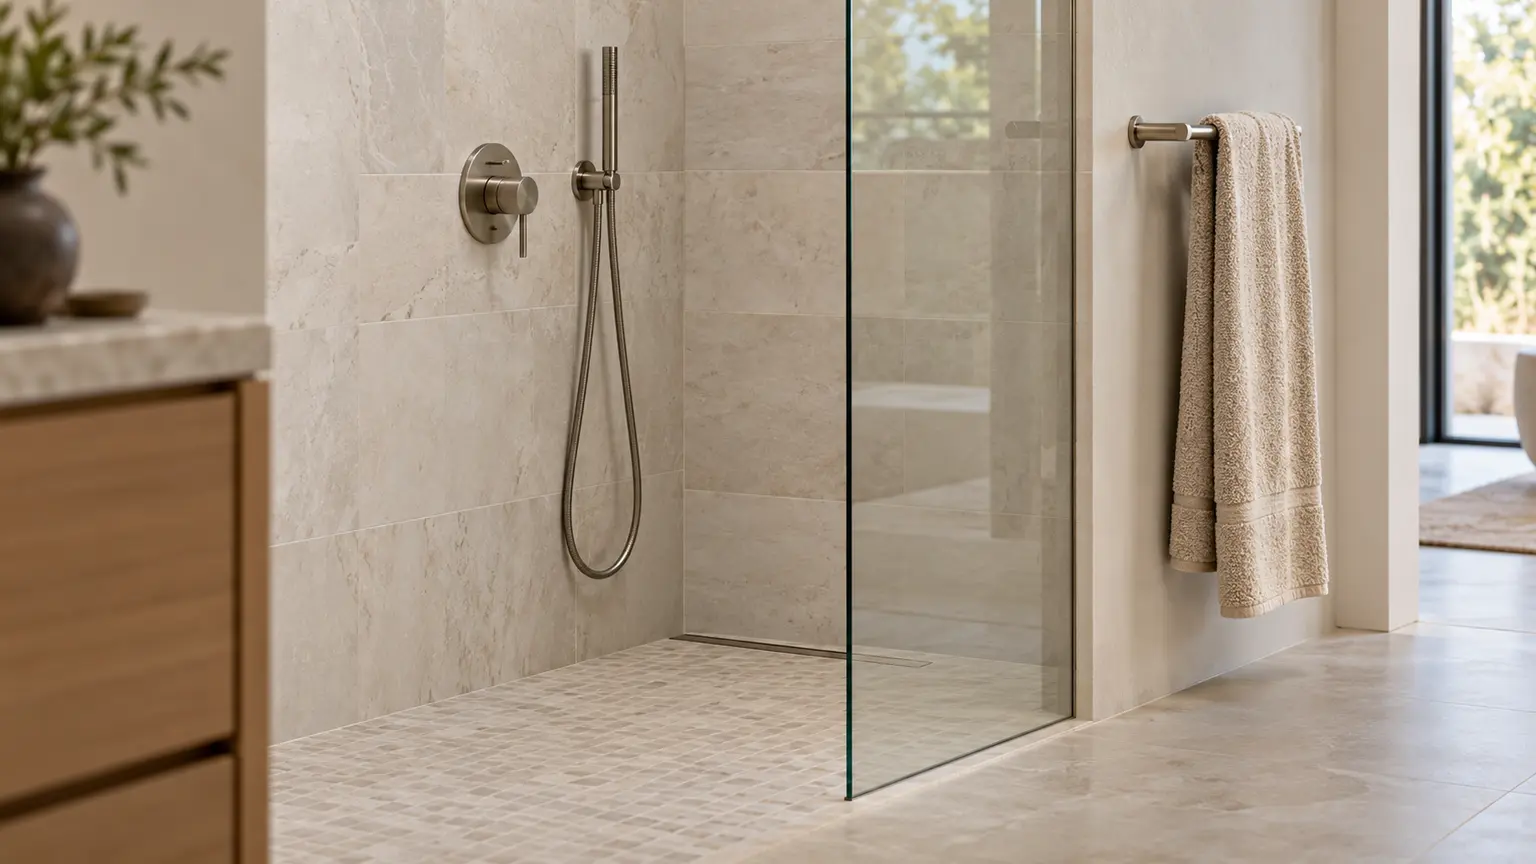
The photograph shows one uninterrupted floor. It does not show how the shower sits within the existing structure, where the floor begins to fall toward the drain, or whether the finished bathroom floor will meet the hall at the same height.
Those are the decisions to settle before a tile selection becomes an order. Ask for a drawing that connects the hall, bathroom and shower at their finished surfaces. Then review where water goes and how the surrounding construction is protected. A curbless shower is a whole-floor conversation, not simply a curb removed from a picture.
Planning questions for your design and construction team, not installation instructions or a site assessment.
Watch the story
Loading the film connects to YouTube. Google’s privacy policy applies.
Follow the floor all the way to the hall
Imagine a bathroom with a raised shower curb and a floor that currently meets the hallway without a step. You want to remove the curb as part of a full remodel. Keep that hallway connection in the discussion from the beginning.
There must be room for the proposed shower assembly and its drainage slope. Schluter's US planning guidance describes different approaches, including recessing the shower floor, building up the surrounding bathroom floor, or using a suitable tray-and-ramp arrangement. These are alternatives to assess, not interchangeable purchases.
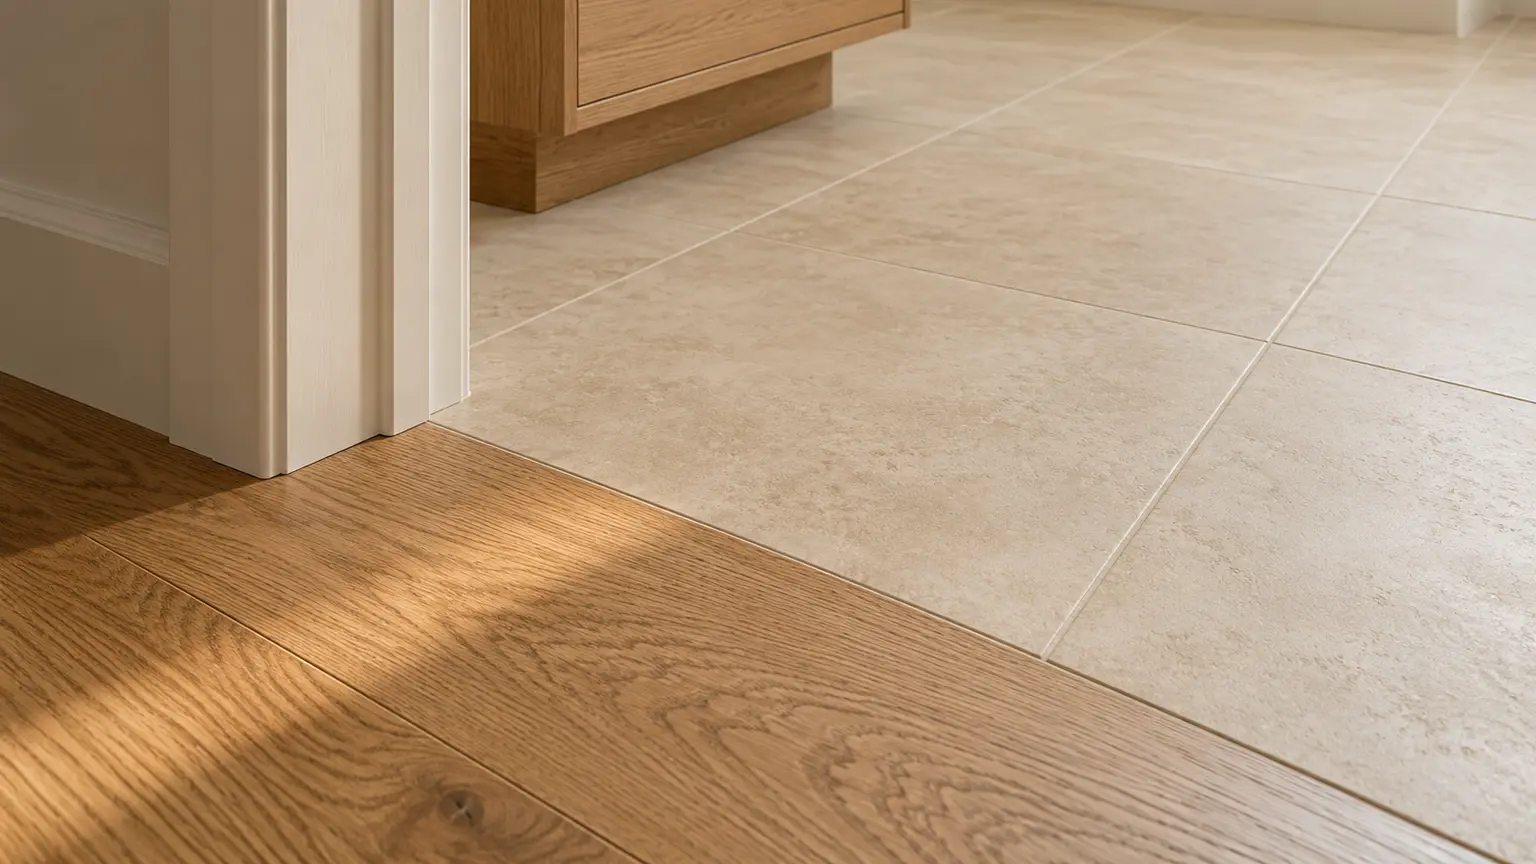
In our example, raising the bathroom floor might allow it to meet the shower entry. But the hall has not moved. The height difference may now need to be resolved at the bathroom doorway instead. The shower view can look seamless while leaving another transition outside the photograph.
Ask the designer to show both junctions in a simple side view: hall to bathroom, then bathroom to shower. Include the proposed finished surfaces, not just the structure underneath. What changes if the tile or under-floor assembly changes?
A recessed approach may be worth investigating, but its suitability depends on the existing construction. Do not cut framing, alter a slab or remove a curb to test the idea. Have the appropriate design and construction professionals establish the viable arrangement.
Planning reference: Schluter's US planning guidance.
Flush at the entrance is not flat to the drain
The shower still needs a deliberate route for water. The entrance relationship and the slope inside the shower are different parts of the drawing.
Have the team identify the proposed drain location and show which way each part of the shower floor falls. Follow that explanation to every open edge, not only the edge shown in the inspiration photo. If a side of the shower is also open, ask how that side meets the surrounding floor.
This is where the tile choice and the floor geometry should be reviewed together. A large tile cannot simply follow a change of plane without a decision about its layout and cuts. For one product-specific example, Schluter describes KERDI-LINE as allowing a single-plane slope that can accommodate large-format tile. That is not a promise that every linear drain, shower layout or large tile will work the same way.
Ask to see the tile layout on the proposed sloped floor before agreeing to an uninterrupted large-tile look. Where are the cuts? Where does the slope begin? How does the tile meet the drain and the room? The useful answer is a coordinated detail, not just a drain model on a shopping list.
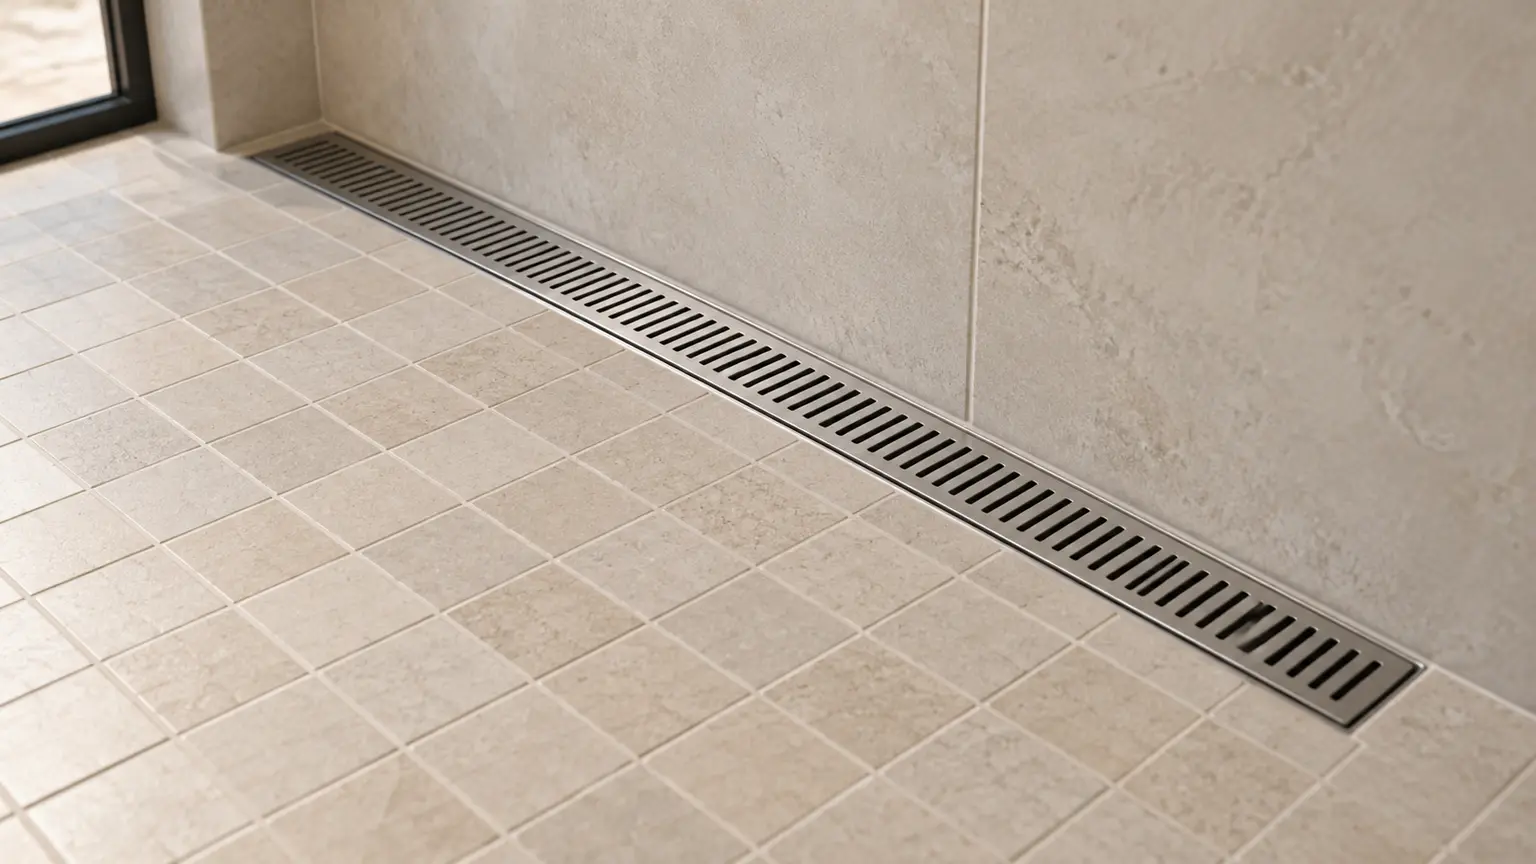
Planning reference: Schluter describes KERDI-LINE.
Ask two water questions, not one
First: where does water on the surface go?
Second: what protects the construction beneath and beside that surface?
Tile and grout are not, by themselves, a complete waterproofing system. Schluter's explanation of tiled wet-area floors distinguishes the finish from the protection beneath it. A handsome tile joint does not establish what is happening behind it.
For the curbless design, ask the installer to mark the proposed waterproofed area and explain the connections at the shower entrance, walls and drain. Schluter's US curbless FAQ recommends protection in all areas exposed to water and ideally across the bathroom floor. Your project needs the requirements of its selected system and applicable rules, not a distance copied from a forum.
Do not treat a glass panel as the boundary of the waterproofing without that explanation. The drawing should distinguish the visible enclosure from the areas that require protection. Nor does waterproofing make uncontrolled splash desirable: keeping water where it belongs and protecting the assembly are separate jobs.
Planning reference: Schluter's explanation of tiled wet-area floors.
Planning reference: Schluter's US curbless FAQ.
Plan the shower you will use, not only the opening you will see
Curbless and doorless are separate choices. Keep the enclosure decision open while you review how the shower will be used.
On the proposed plan, locate the entrance, controls, shower outlet and towel. Then walk through the sequence in words: reach the controls, enter, shower, reach a towel and leave. If a door is proposed, ask to see it open as well as closed. Does it block the place you intended to stand or the towel you intended to reach?
For an open layout, ask the designer to explain how the shower's arrangement addresses spray and the adjoining bathroom area. A beautiful wide-angle photograph is not evidence that a shorter or differently arranged shower will behave the same way.
If easier access is the reason for the remodel, say exactly who needs to use the room and what is difficult now. Removing a raised curb alone does not establish an accessible bathroom. The route into the room, usable space, controls and support needs require their own review. Do not accept the word accessible as a substitute for designing around the actual person.
Put the pre-tile check on the schedule
Once tile covers the work, a finished photograph cannot show every connection beneath it. Ask in advance which inspection and water-testing steps apply, who carries them out and what record you will receive before the finish conceals the assembly.
LATICRETE's flood-testing guidance addresses testing waterproofing intended to receive tile or stone. Its product FAQs also show why the waiting period cannot be assumed: products and site conditions have different requirements.
This is a scheduling question for the installer, not an invitation to plug the drain and flood the room yourself. Ask how the selected system's instructions and local inspection requirements are being followed, and how any unresolved result will be addressed before tiling proceeds. Keep the applicable product information and test record with the project documents.
Planning reference: LATICRETE's flood-testing guidance.
Planning reference: product FAQs.
Take this to the design review
You do not need to arrive with an engineered solution. You need a clear description of what you want and a drawing that answers the right questions.
For the wider project, our bathroom renovation guide covers the broader planning and budget conversation.
If you would like help discussing your project, tell the We Are One team what you want to change.
| Ask to see | What you are checking |
|---|---|
| Hall, bathroom and shower in one finished-floor side view | Whether resolving the shower entrance creates a different transition at the bathroom doorway |
| Drain location, floor slopes and tile layout together | How the proposed surface directs water and where the tile changes plane |
| Waterproofing extent and connection details | How the selected system protects the relevant areas, not just where the glass stands |
| The enclosure and controls in use | How you enter, reach what you need and leave |
| Pre-tile inspection and testing plan | Who checks the concealed work, when and with what record |
We would like a curbless shower and want to understand the full floor arrangement before choosing the tile. Please show the finished levels at the bathroom doorway and shower entrance, the proposed drain and slopes, the waterproofing extent, and any changes the existing construction needs. Please also show how the enclosure and controls work in use, and identify the inspection and water-testing steps before tiling.
The goal is not to make a simple-looking shower complicated. It is to resolve the hidden decisions while they are still on the drawing. Follow the floor from the hall to the drain. Make sure the whole route has an answer.
 A little inspiration to take home.